- Mopar Classic Car Restoration Tips
- Interior Tips
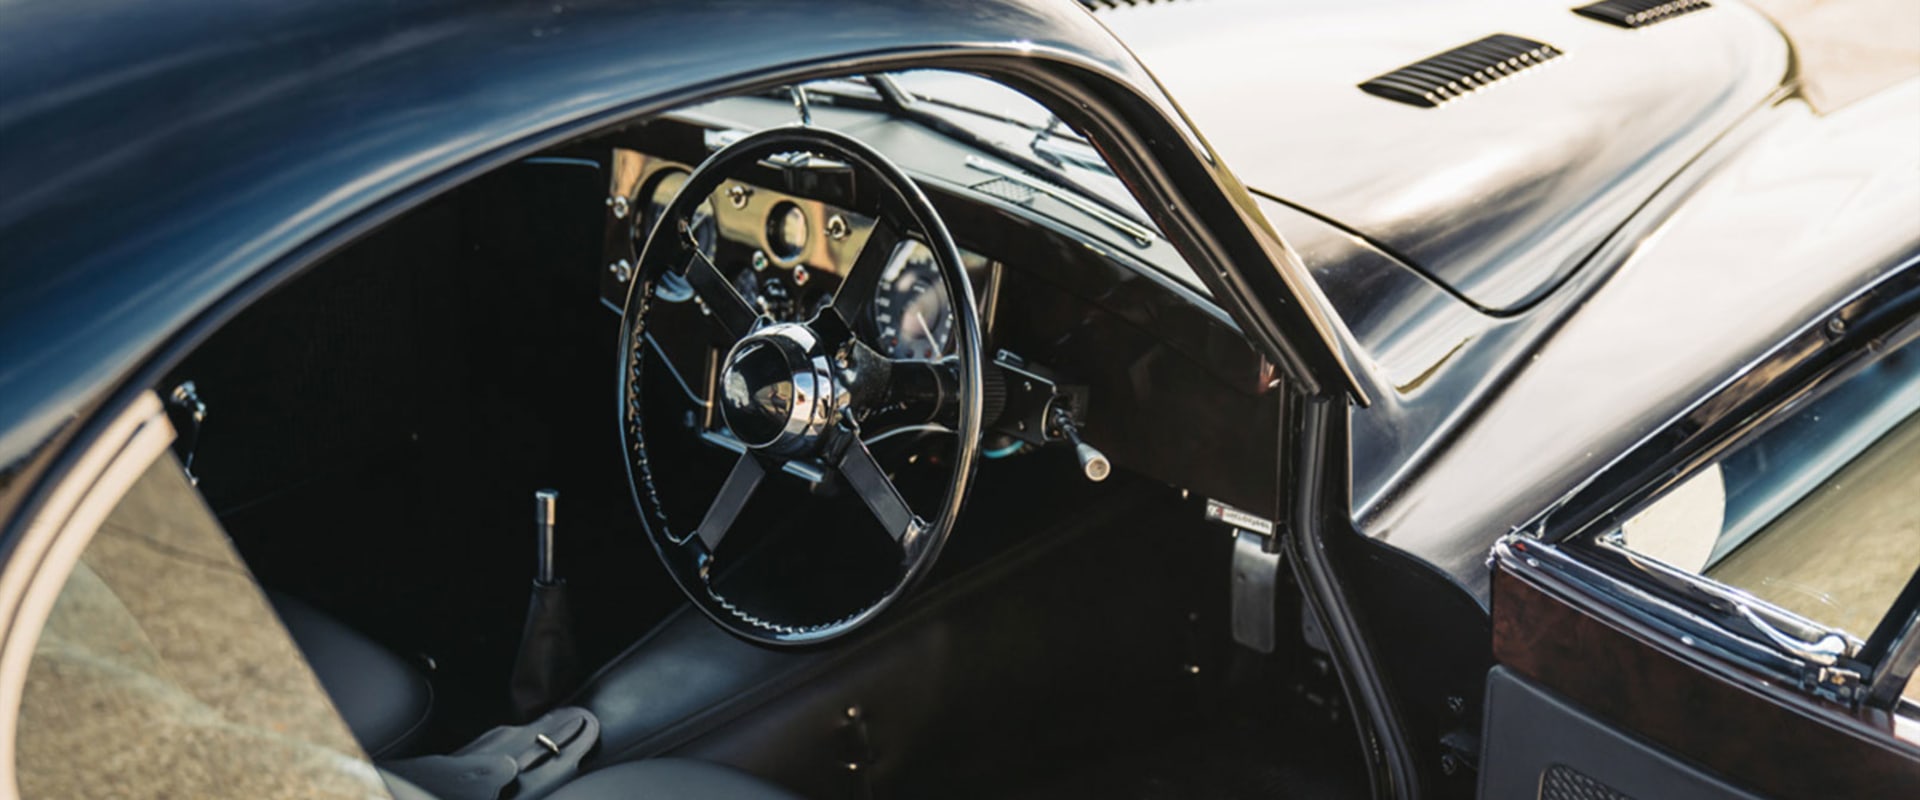
- Dashboard Restoration Techniques
Dashboard Restoration Techniques: A Comprehensive Guide for Mopar Classic Car Enthusiasts
Learn the best techniques for restoring the dashboard of your Mopar classic car. This guide covers everything from choosing the right materials to completing the job.
Are you a Mopar classic car enthusiast looking for some guidance on dashboard restoration techniques? Look no further! This comprehensive guide will provide you with all the information you need to restore your beloved classic car’s dashboard. From proper cleaning methods to helpful tips and tricks, this guide will have you feeling confident in your restoration process. Read on to learn more about dashboard restoration techniques and how to get started!The first step in any dashboard restoration project is to assess the condition of your dashboard. This will help you determine the type of work that needs to be done and the materials you'll need to get the job done. After assessing the condition of your dashboard, the next step is to choose the right materials for the job.
Be sure to use quality materials that are designed specifically for use on classic car dashboards. Once you have the right materials, it's time to begin the actual restoration process. Depending on the condition of your dashboard, this may include sanding, painting, polishing, and other techniques. It's important to take your time and do a thorough job so that your dashboard looks like new when you're finished.
When sanding, be sure to use a gentle touch and avoid using too much pressure. This will help ensure that you don't damage any of the delicate parts of your dashboard. After sanding, it's time to move on to painting. Be sure to use a paint specifically designed for use on classic car dashboards.
Once you've finished painting, you may want to add a clear coat of sealant for added protection. If you're looking for an extra shine, you can also opt for a wax or polish. Finally, after completing the restoration process, be sure to give your dashboard a final inspection to ensure everything looks perfect. Don't forget to check all the parts of your dashboard, including any cracks or crevices that might have been missed during the restoration process.
Restoring Your Dashboard
Once you have the right materials, it's time to begin the actual restoration process.Sanding is an important step in restoring your dashboard as it will help to smooth out any imperfections and create a more even surface for painting or polishing. After sanding, you can use a primer and paint to give your dashboard a new look. Once the paint is dry, you can use polishing products to give it a glossy finish and bring out the shine of the color. In addition to sanding, painting, and polishing, you may also need to replace certain parts of your dashboard.
This could include replacing broken knobs, switches, gauges, and more. If you're replacing any components, make sure you get the right part for your classic Mopar car. It's also important to make sure that all new parts are securely installed before moving on to the next step. When restoring your dashboard, it's important to take your time and focus on the details. Make sure that all surfaces are thoroughly cleaned and prepped before sanding or painting.
Additionally, take care when using any chemical products as they can cause damage to your vehicle if used incorrectly.
Choosing the Right Materials
Choosing the Right MaterialsOnce you have assessed the condition of your dashboard, it's time to choose the right materials for the job. Look for materials that are both durable and aesthetically pleasing. Consider the color scheme of your classic car when selecting materials, as you want to ensure that your dashboard matches the rest of your vehicle. You will also need to determine the type of material you need. The most popular options include vinyl, leather, and ABS plastic.Vinyl is a great choice for a classic car dashboard since it is durable and easy to clean. Leather is another popular option, though it may require more maintenance than vinyl. ABS plastic is a relatively new option, and it has become increasingly popular due to its low cost and durability. When selecting materials for your classic car dashboard, make sure to consider the climate you live in. If you live in an area with high temperatures, you may want to consider materials that are designed to withstand high temperatures.
If you live in an area with cold winters, then materials like leather may not be suitable for your dashboard restoration project.
Assessing Your Dashboard
The first step in any dashboard restoration project is to assess the condition of your dashboard. This assessment will help you determine the type of work that needs to be done, as well as the materials you'll need to get the job done. To begin, check for any cracks or holes in the dashboard and note them. If you find any, you'll need to repair them before you can move on to other tasks.Additionally, inspect for signs of rust or corrosion and take note of any discoloration or fading of the dashboard. Once you've identified any areas that need attention, you'll need to determine what kind of work is necessary. If there are any cracks or holes, you'll need to repair them with a patch or filler. For rust or corrosion, you may need to use a chemical rust remover or polishing compound to restore the finish. If there is discoloration or fading, you may need to use a cleaning agent or paint to restore the original color. It's also important to consider how much time and effort you want to invest in the restoration process.
Depending on the condition of your dashboard, some projects may be more involved than others. If you're uncertain about how to proceed, it's best to consult a professional who has experience in classic car restoration.
Final Inspection
Before you can call your dashboard restoration a success, you'll need to give it one final inspection. This is your chance to make sure that all the hard work you've put in has paid off, and that the dashboard looks just like new. Here are some of the things you'll want to look for when doing a final inspection:Surface Damage:Check for any scratches, gouges, or cracks that could detract from the overall appearance of the dashboard.If you find any, you may need to start over and reapply the materials that you used.
Filling Material:
Look for any gaps or uneven areas where you used a filler material. Make sure that everything is smooth and even, and that there are no visible signs of the filler material.Adhesives:
Ensure that any adhesives that were used during the restoration process are holding securely. Look for any signs of bubbling, peeling, or cracking that could indicate an issue with the adhesive.Seams and Joints:
Go over all the seams and joints on the dashboard to make sure they are tight and have been properly sealed. If there are any gaps or loose seams, you may need to apply additional sealant to ensure a secure fit.Hardware:
Check all the hardware components, such as knobs and switches, to make sure they are securely fastened and functioning correctly.Finishing Touches:Finally, make sure that all the finishing touches are complete. This includes applying a protective coating or wax to protect the dashboard from UV damage and other environmental factors. Restoring a classic car dashboard requires a great deal of effort and attention to detail, but the rewards are definitely worth it. With the right tools, materials, and techniques, you can give your Mopar classic car's dashboard a new lease on life. Assessing the dashboard, choosing the right materials, restoring it properly, and completing a final inspection are all important steps in the process.
By following these steps, you can ensure that your classic car's dashboard looks better than ever before.